I was asked to create a couple of Mother’s Day cards by a friend, and since I haven’t tried all of the Fun Folds 2 Collection yet decided these were the cards I was going to use for my bases. Trying new files is so much fun.
I chose the diamond fold and the shutter card bases both available free to Pazzles craft room members.
Often, when I sit down to create my cards I have no idea how they’re going to look when I’m finished. I create as a I go, and let the papers I choose guide me, or my customer’s brief of specific colour or theme. For these cards, one was to feature purple and the other was up to me.
Both of these cards fit onto one piece of 12×12 cardstock so I cut them both at the same time. After choosing complimentary patterned papers from the Kaisercraft Magic Happens Collection. The patterned bases were quick & easy for my Inspiration to cut too and the fun part begins – assembly!
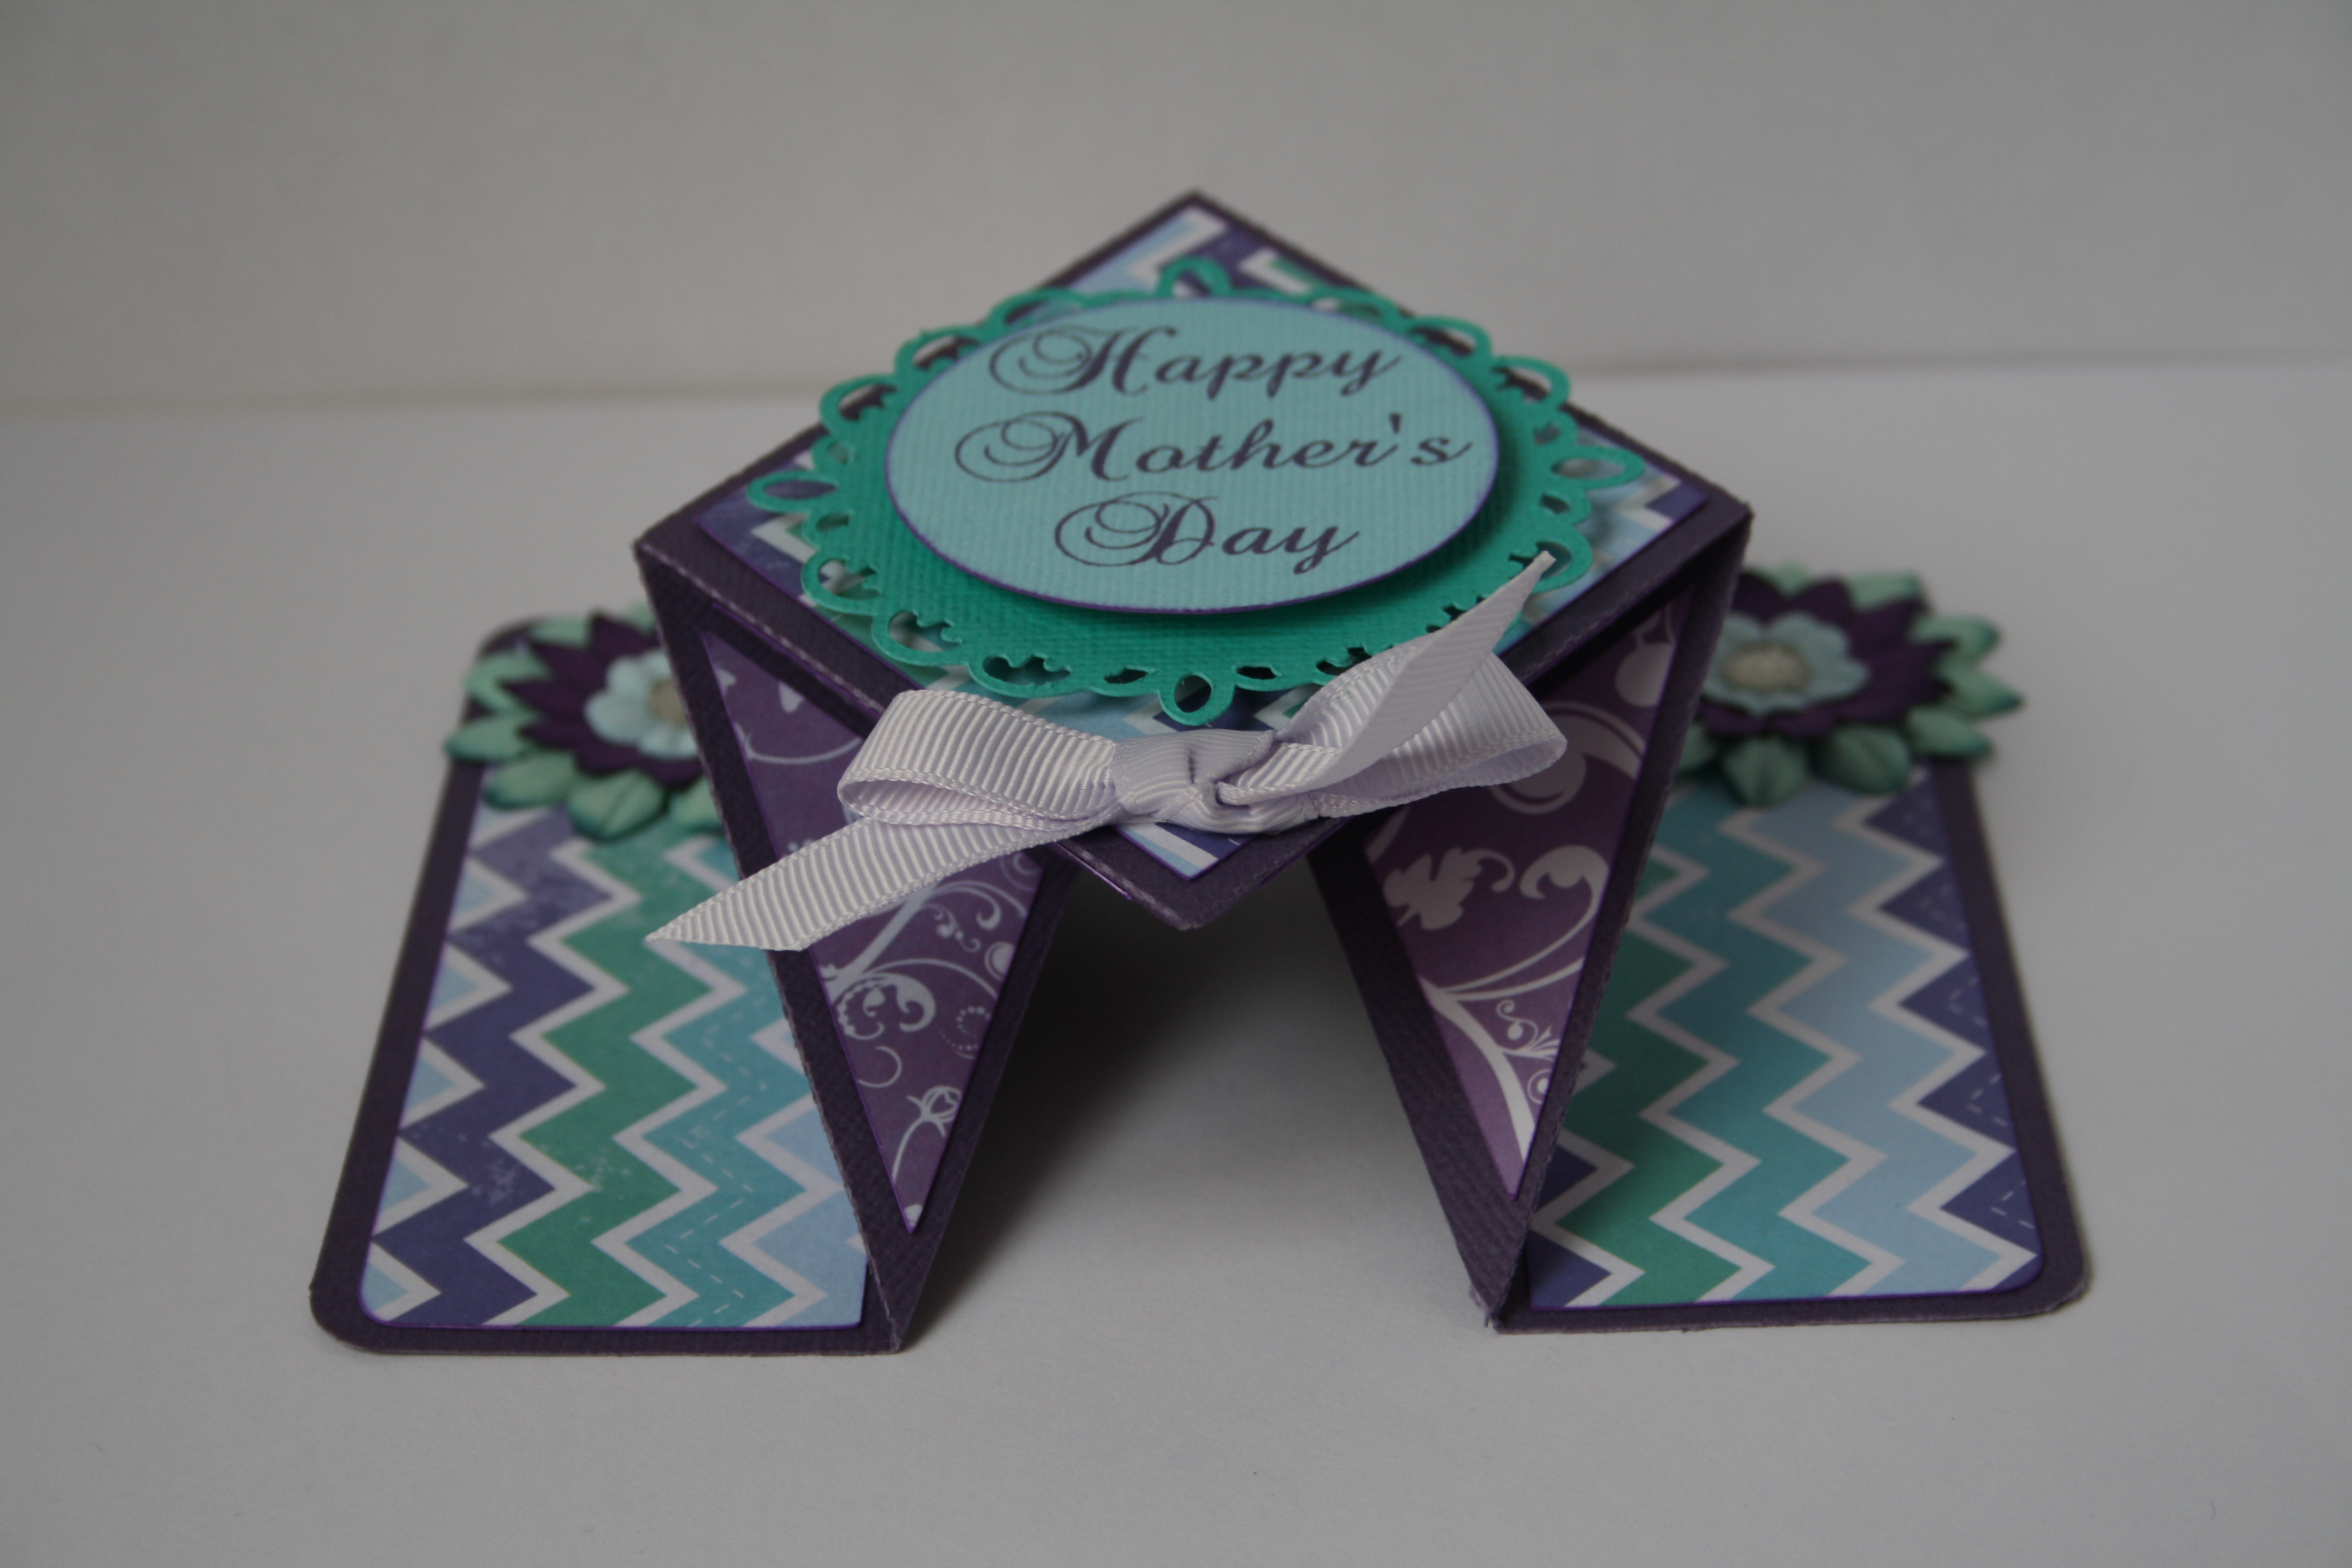
I did have to sit and think for a moment first about how to fold the diamond card, but once I referred back to the image in the craft room library I figured it out!
I always like to ink the edges of my papers to give extra dimension to the pieces. When they haven’t been inked, I feel they don’t look as good. I love my little Versa Color Ink cubes and find them easy to use and great to store as they stack on top of each other.
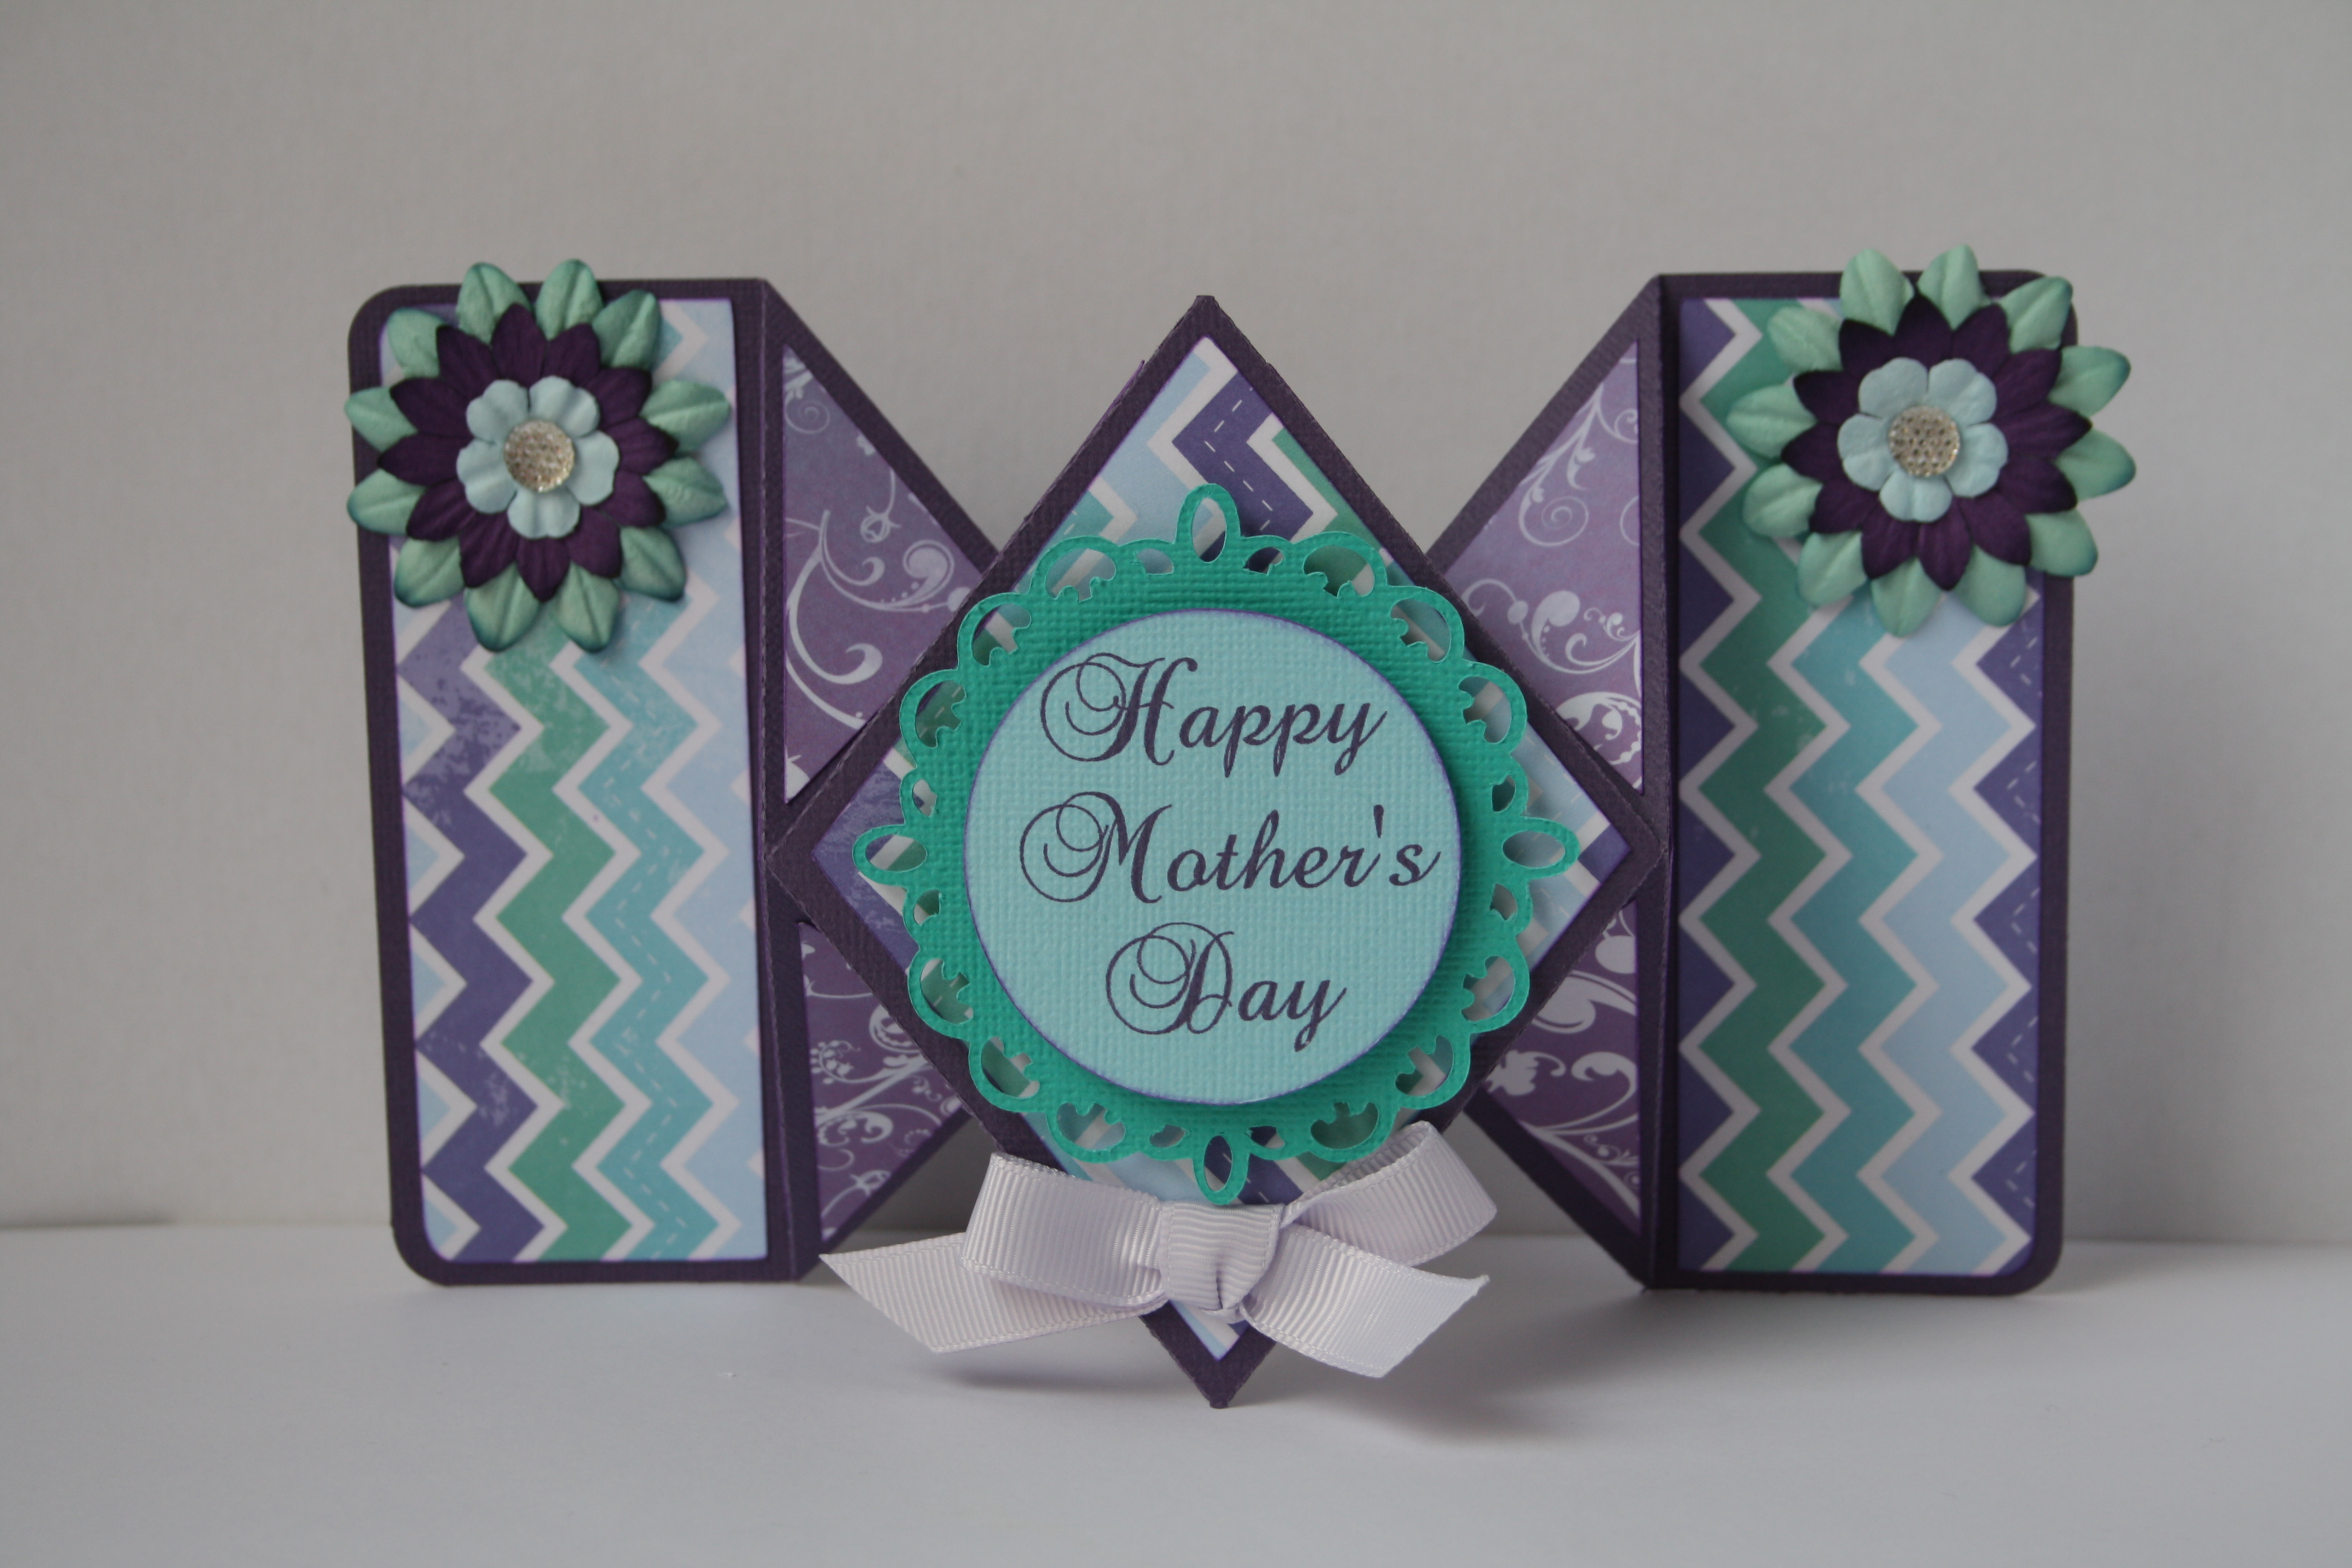
The diamond fold card looked very impressive just with the patterned pieces added! I wanted to make this card pop with simplicity. I chose the fancy circle frame to cut in plain cardstock and then used the circle for my Mother’s Day message. All the text is added in my Inspiration Studio Software making the whole process seamless being able to use one program.
Adding some flowers and a very light lilac bow finished this card off beautifully. I cut another diamond in co-ordinating paper for my friend to write her message on before fixing it to the back of the card. This way, you’re not writing on a bumpy surface because the card is three dimensional.
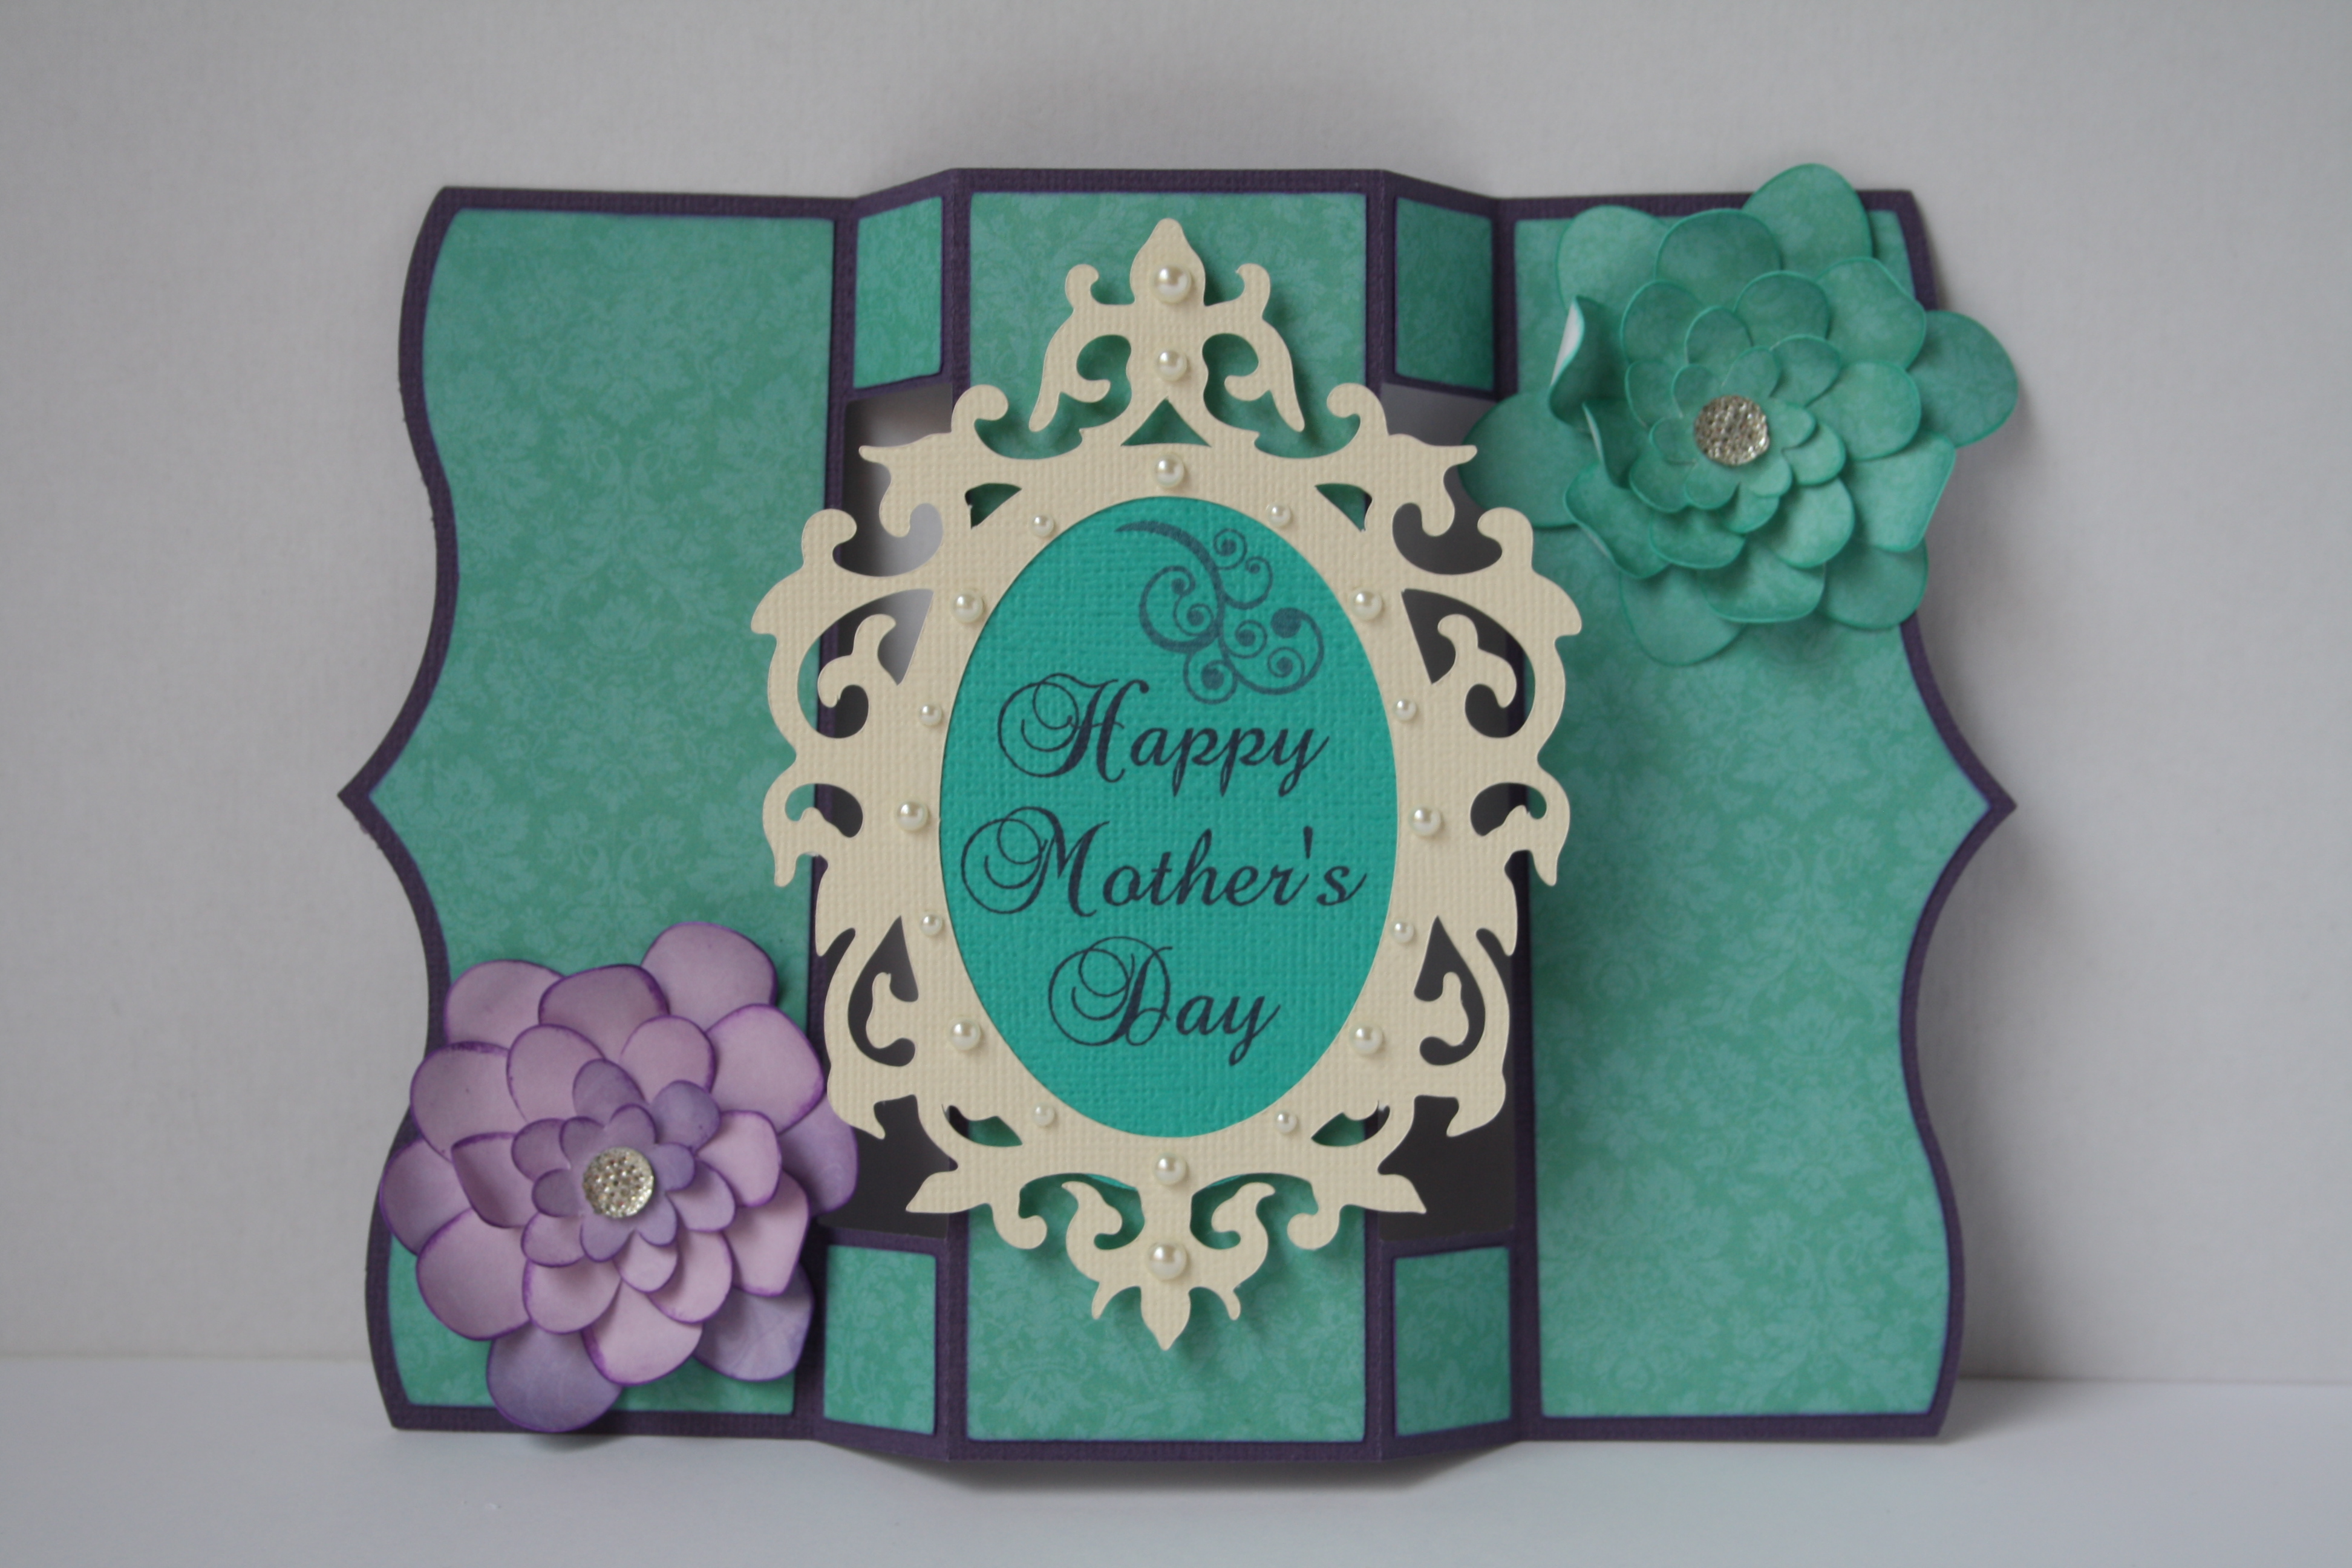
For the shutter card, I decided against using the plain oval and opted instead for my favourite vintage frame. Cutting a contrasting coloured oval for the Mother’s Day message and adding a Miss Kate Cuttables flourish above the text gave an added touch.
The flowers on either side were created by using the Yellow Layered Flower file from the craft room. Once cut out, I inked the edges roughly and then curled the petals around a pencil. Fixing each layer with double sided tape and finishing off with a Kaisercraft sparklet in the centre of each flower meant this card was now finished. For the personalised message I cut a square piece of cardstock in the same green I used for the mats to be included in the envelope. This card doesn’t have much room for writing so it’s easy to include a piece of cardstock instead for the personal message.
I hope seeing my cards has shown you how easy it is to make gorgeous cards with these great files from Pazzles! You are only limited by your imagination. I absolutely love how the Inpsiration Cutter can create so many custom embellishments. This is one of the main reasons I purchased it back in 2011 and now I’m busting to get my new Inspiration Vue when it’s available!!! I’ve chosen purple!
Thank you for reading, and stay tuned for my twist easel cards I made this weekend just gone. I love them! In the meantime, search for twist easel cards on Pinterest, there are some amazing cards on there.


Love these! They turned out so beautiful!