I’ve been exploring the Pazzles Craft Room Library lately to find awesome dimensional projects to try out, and I’ve been searching online for great templates that I can recreate in my Pazzles Inspiration Studio software. When I see templates online or in magazines, I wonder how I can recreate them in my software so my machine can work it’s magic and do all the hard work! I also love how I can tweak the templates to suit my requirements.
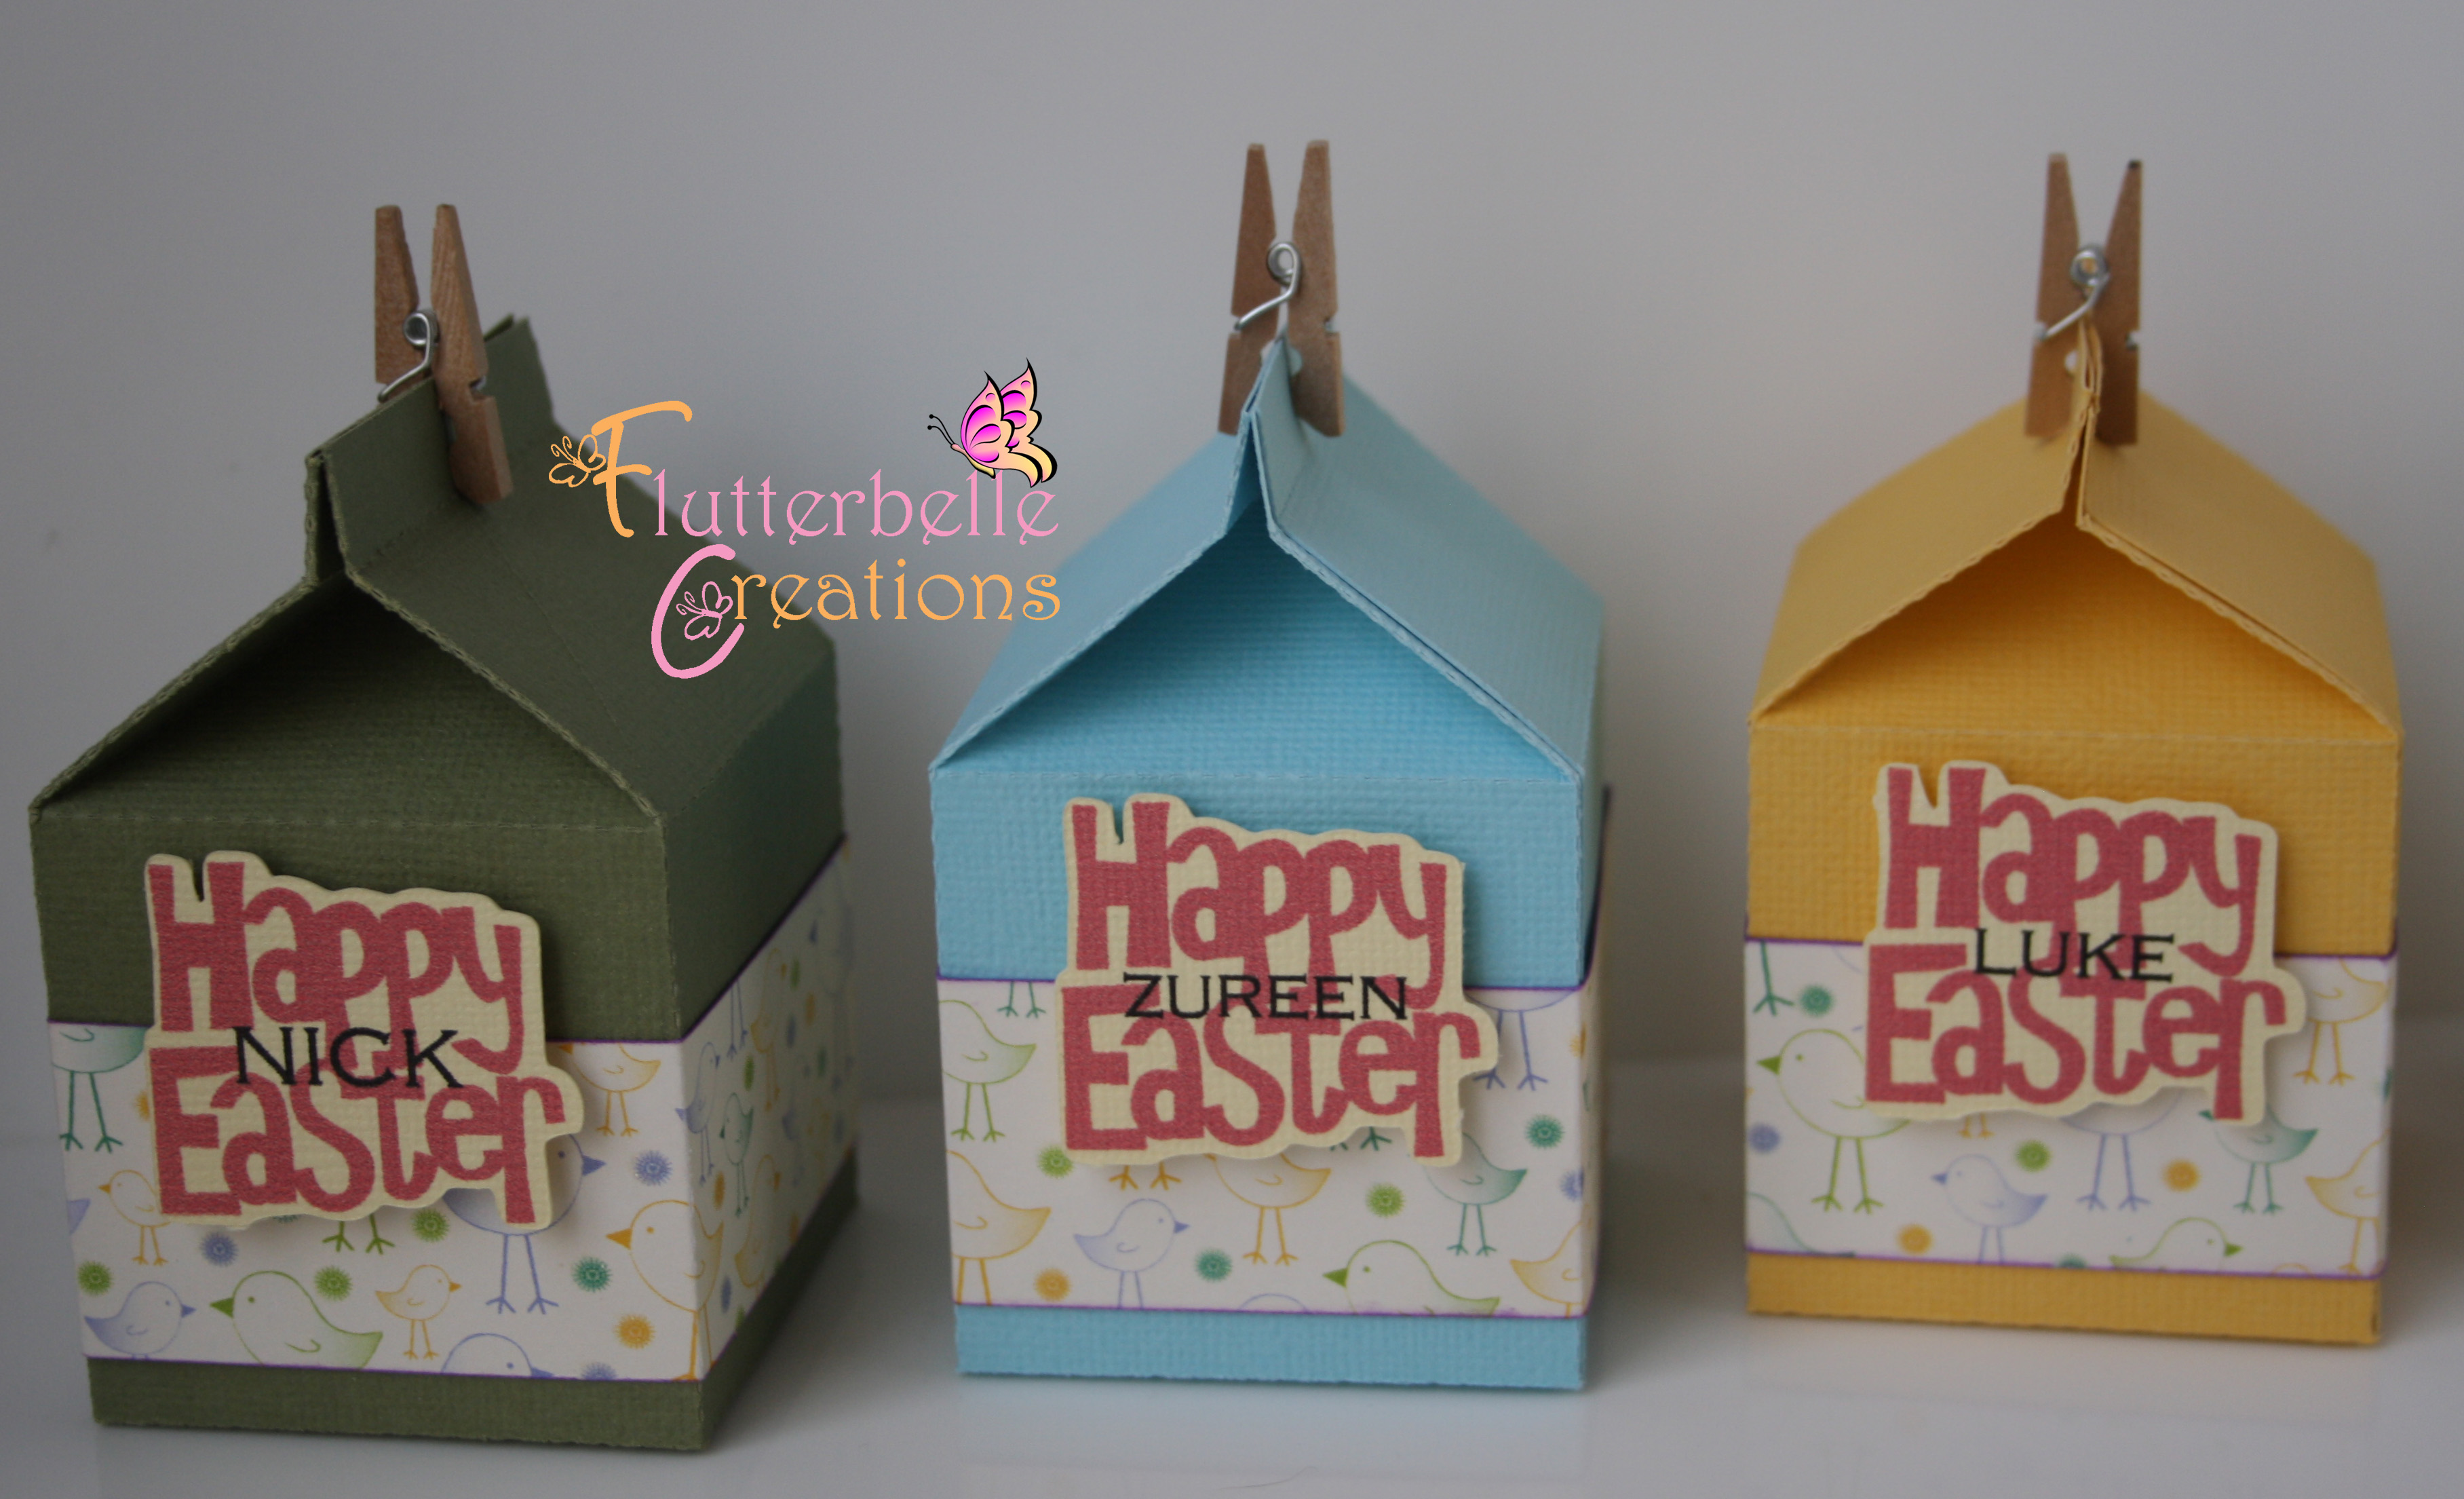
I came across this adorable milk carton file and thought it would make the perfect Easter craft. All I needed was the base template.
Mum had rung me and asked me to create some name tags to personalise our staff gifts for Easter, but when I came across these, I suggested I make them in a custom size to fit the chocolates she had already purchased instead of using cello bags. We’re quite pleased with how they came out and our staff loved them.
After selecting some soft colours that weren’t too feminine for our mostly male crew, I set my PI to cut away. I fit two of these per 12 x 12 scrapbook page. Each side of the carton measured about 5cm across and high.
Folding them was a piece of cake and I used double sided tape to assemble them.
I measured the face of each assembled carton so I could mark out some patterned paper to wrap around each one for decoration. I couldn’t find any soft paper in my stash, so the card stock I chose needed some scored lines to help it fold neatly around my milk carton. I then inked the edges of each ‘wrap’ to make them stand out.
I wrapped each carton carefully, using double sided tape again and then went to work on the Happy Easter label.
I picked out the ‘Happy Easter’ from the Easter Pop Up Card Box blog entry on 28 March 2014 and added our staff names to it in my Inspiration Software.
I cut the outline and then after printing all 6 of them on a regular sheet of paper I stuck each piece over the top and then removed the outline to print again, but this time on the shaped cardstock. This is my preferred method for print and cut, I cut & print instead. (I can’t wait for the the new Inspiration Vue with it’s optical eye for precision print & cut!)
Once this was done I used foam squares to secure the Happy Easter to the front, and put a tiny wooden peg on top to close the carton and they were finished!
I’m looking forward to creating more of these as party favours or place settings at a dinner party. To see some of my other party favours, please visit my Facebook page as well as my gallery.